Start seeds indoors by working backward from the safe outdoor transplant window for your area, then use each seed packet's recommended indoor lead time. The right date depends more on crop type, local frost patterns, light, and transplant readiness than on a single nationwide calendar date.
TL;DR: Find your local last-frost guidance, separate crops that benefit from an indoor head start from crops better direct-sown, follow the seed packet's timing, provide strong light after emergence, and harden seedlings gradually before transplanting.
Start With Your Local Spring Conditions
The most reliable seed-starting calendar begins outdoors, not at the seed tray. First identify the period when a particular crop can safely move into the garden. Cool-season vegetables tolerate different conditions from warm-season crops, and the date printed on a social post or generic planting chart may be wrong for your climate or microclimate.
The USDA Plant Hardiness Zone Map is useful for understanding winter cold tolerance of perennial plants, but it is not a last-frost calendar. For annual vegetables and flowers, use a local Cooperative Extension planting calendar or frost-date resource alongside the packet instructions. A sheltered urban courtyard, exposed hilltop, and low spot in the same ZIP code can warm and cool differently, so treat dates as planning guides rather than guarantees.
If spring garden planning also includes bed preparation, handle that separately from seed timing. A practical guide to reviving tired garden soil between seasons can help you prepare planting areas while seedlings are still indoors without rushing soil work when the ground is too wet.
Build the Calendar Backward From Transplanting
Once you have a likely transplant window, read each packet for language such as "start indoors" and the number of weeks before transplanting or last frost. Different crops grow at different rates. Slow-growing onions, leeks, peppers, eggplants, and many flowers generally need more indoor time than fast-growing cucurbits or crops that dislike root disturbance.
University of Minnesota Extension's seed-starting guidance illustrates why one schedule does not fit every plant: its regional chart starts some crops much earlier than tomatoes and reserves only a short indoor period for others. Use that principle, not Minnesota's dates, if you garden elsewhere.
A simple planning sheet can keep the sequence clear:
| Planning question | What to record | Why it matters |
|---|---|---|
| When can this crop go outside? | Local transplant window | Anchors the schedule to real conditions |
| How much indoor lead time is recommended? | Seed packet guidance | Prevents seedlings from becoming too old or root-bound |
| Does the crop tolerate transplanting well? | Crop habit | Helps decide between indoor sowing and direct sowing |
| What light and warmth are available? | Your setup | Affects seedling quality and growth speed |
| When will hardening begin? | A pre-transplant period | Prevents a sudden move from protected indoor conditions |
Do not assume that starting earlier always creates a stronger plant. Seedlings held indoors too long can become crowded, stretched, nutrient-stressed, or root-bound. A younger, stocky transplant that has been grown under strong light often establishes more smoothly than an oversized plant that has spent too long in a small cell.
Prepare the Seed-Starting Setup Before You Sow
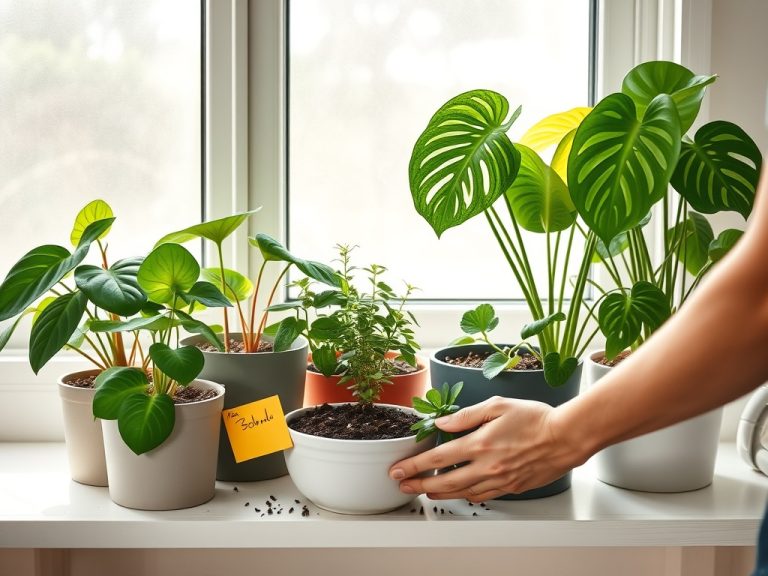
A dependable setup is simple: clean containers with drainage, fresh seed-starting or potting medium appropriate for germination, labels, a tray that can catch water, and a controllable light source. Heat mats can be useful for species that germinate best in warmer media, but they are not a substitute for adequate light after emergence.
Moisten the mix before sowing so it is evenly damp rather than waterlogged. Follow the packet for sowing depth because some seeds need surface light while others germinate beneath a layer of medium. Label immediately; similar seedlings are surprisingly difficult to identify once several varieties emerge together.
Windows can work in very bright situations, but they are often inconsistent. The University of Minnesota notes that windowsills may fluctuate between cold nights and warm days and can produce thin, leaning seedlings when light is inadequate. If you use grow lights, keep them positioned and timed according to the fixture manufacturer's instructions and adjust them as seedlings grow.
Manage Moisture Without Keeping the Mix Soggy
During germination, the goal is even moisture. After seedlings are established, the surface should not remain constantly saturated. Overly wet media can encourage disease and weak root conditions, while repeated severe drying can damage young seedlings.
Water based on the mix, container size, plant stage, and indoor conditions rather than a rigid daily routine. Bottom watering can be useful because it reduces disturbance at the surface, but trays should not be left filled indefinitely. If tiny flies begin hovering around the pots, review the watering routine and use the steps in controlling fungus gnats in potted plants rather than assuming the seedlings need an insecticide.
Once seedlings develop true leaves and crowd each other, thin or pot them up as the crop requires. Handle stems and roots gently. Seedlings that grow rapidly may need more space before outdoor planting, while slower crops can remain in cells longer if roots are still healthy and the medium drains well.
Harden Seedlings Instead of Moving Them Outside in One Day
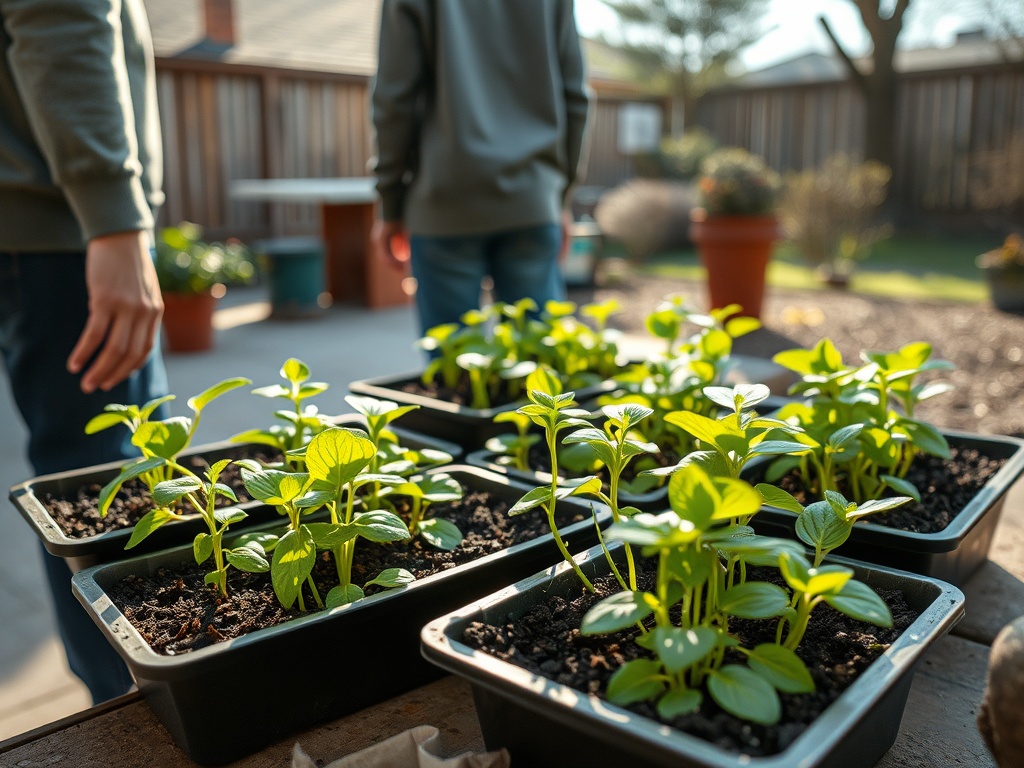
Indoor seedlings are accustomed to protected light, limited wind, and relatively steady temperatures. Moving them directly into full sun and open weather can cause leaf scorch, wilting, or growth setbacks even when the calendar date looks correct.
The University of Minnesota Extension recommends gradual hardening, beginning with protected outdoor exposure and increasing time and sunlight over roughly two weeks. Your exact pace should respond to the crop and weather. Postpone exposure during freezing conditions, severe wind, or other stressful weather, and avoid treating hardening as a fixed countdown that must continue regardless of conditions.
This is also the moment to decide how transplants will be watered after planting. The right method varies by bed size and plant type, so comparing sprinkler versus hand watering before transplant day can prevent a rushed watering setup later.
Common Timing Mistakes That Weaken Seedlings
Starting everything on the same weekend
Convenient does not mean appropriate. Group seed packets by recommended lead time and transplant conditions instead of treating all vegetables and flowers alike.
Using the hardiness zone as a frost date
Hardiness zones describe average annual extreme minimum winter temperatures for perennial plant survival. They do not tell you the exact spring frost date for an annual vegetable crop.
Starting too early because bigger seems better
Oversized transplants can be harder to manage indoors. Let packet timing, available space, and plant quality determine when you sow.
Ignoring light after germination
Warmth may speed germination, but newly emerged seedlings need adequate light to stay compact and sturdy. Adjust the setup as soon as seedlings emerge.
Watering by habit rather than need
A tray that feels light and a mix that is beginning to dry can be more informative than a clock. Different cells can also dry at different rates depending on airflow and plant size.
Build Your Spring Calendar Backward
A strong spring garden begins with a sequence: local outdoor conditions, crop-specific packet guidance, a prepared indoor setup, attentive seedling care, and gradual hardening. Keep a simple record of sowing dates and transplant performance this year. That record will make next season's schedule more accurate for your own home and microclimate than any generic national chart.
For the next step, choose the crops you truly want to transplant, locate reliable local frost guidance, and work backward on a calendar before opening the seed packets.
Home and garden information is provided for general educational purposes. Local climate, plant varieties, pesticide rules, and horticultural recommendations vary, so consult your local Cooperative Extension or a qualified horticulture professional when conditions are uncertain.[/