Reviving tired garden soil is less about adding a long list of products and more about restoring what the next crop actually needs. Start with a soil test, reduce compaction, return appropriate organic matter, protect the surface, and correct nutrients or pH only when evidence supports it.
TL;DR: Test before fertilizing, avoid working wet soil, use finished compost thoughtfully, keep soil covered with mulch or cover crops, rotate plant families where practical, and let test results guide nutrient and pH changes.
First Decide What “Tired” Soil Really Means
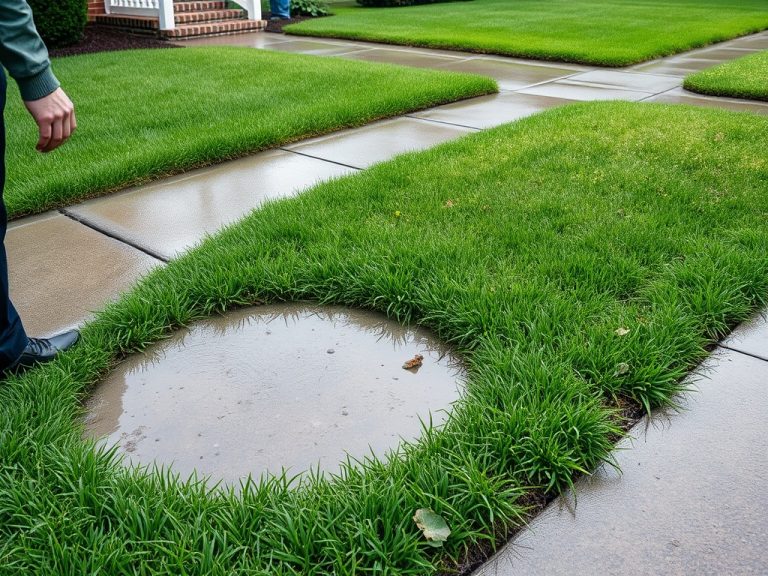
Garden soil can look exhausted for several different reasons. It may be compacted after a season of foot traffic, low in organic matter, depleted in a particular nutrient, overly fertile from repeated amendments, crusted at the surface, or simply too wet or dry for good root growth. Poor plant performance does not identify the cause by itself.
A laboratory soil test is the most useful starting point when fertility or pH is uncertain. University of Minnesota Extension's soil-testing guidance explains that testing can show pH, organic matter, and nutrient conditions and help gardeners avoid unnecessary applications. Local extension laboratories may use different procedures and recommendation systems, so use a service appropriate to your region.
If the next season will begin with transplants, coordinate soil preparation with your indoor schedule rather than doing both at the last minute. The guide on when to start seeds indoors can help you work backward from planting time while the beds recover.
Clear the Bed Without Stripping It Bare Too Early
After harvest, remove diseased plant material and weeds before they set seed. Healthy crop residues can often be composted if your system reaches appropriate conditions, while diseased material may need to be handled according to local plant-disease guidance.
Avoid leaving soil exposed for long periods if erosion, heavy rain, or winter weather will hit the bed. Bare soil is more vulnerable to crusting, runoff, erosion, and weed establishment. Mulch or a suitable cover crop can protect the surface while biological activity continues below.
Do not automatically pull every root from the bed. Fine roots from healthy annual crops can decompose in place and contribute organic material. Large woody crowns or pest-infested roots may need removal, but routine aggressive digging can disturb soil structure more than necessary.
Add Organic Matter With a Reason
Finished compost can improve soil structure and add organic matter, but “more” is not always better. Repeated heavy compost or manure applications can build nutrient levels beyond what plants need. That is one reason soil testing matters before adding another layer simply because the season has ended.
University of Minnesota Extension's healthy-soil guidance recommends testing soil, adding organic matter appropriately, using mulch or cover crops, and rotating crops. Think of compost as one part of a soil-management system rather than an annual cure-all.
If a test indicates low organic matter, spread finished compost over the bed and incorporate it only as deeply as needed for the planting system. In established no-dig or low-till beds, surface application followed by mulch may be enough. In compacted new beds, limited incorporation can help, but avoid pulverizing the soil into a fine texture.
Relieve Compaction Without Working Wet Ground
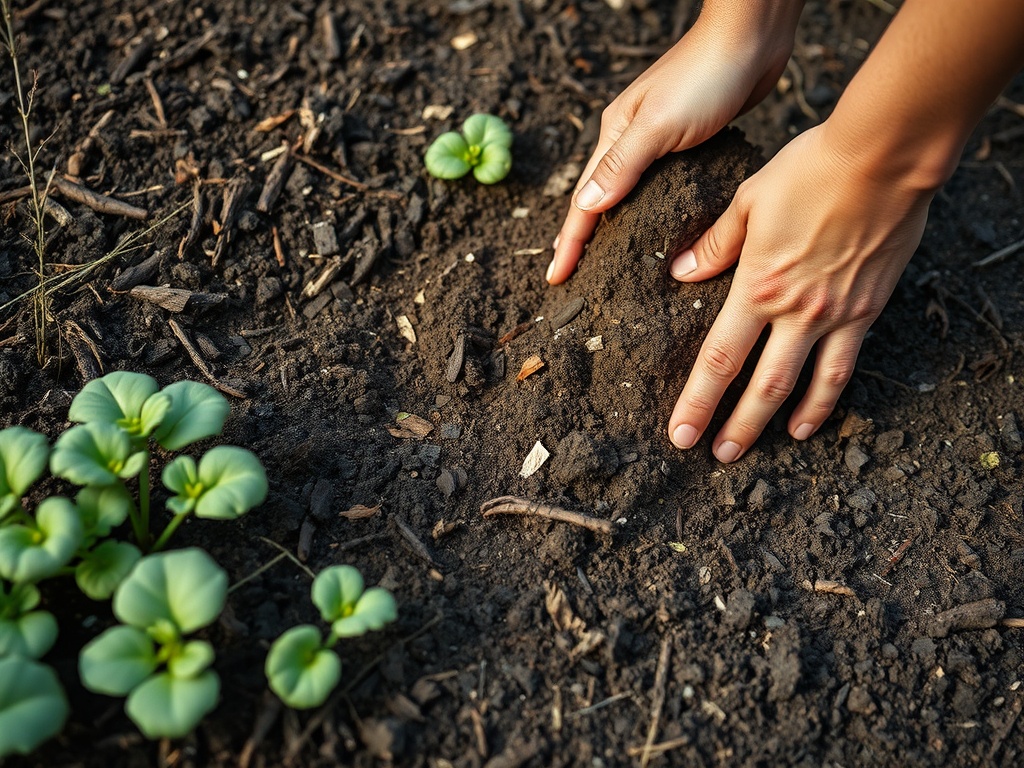
Soil structure is especially vulnerable when wet. If a handful of soil smears into a dense ribbon or sticks heavily to tools, delay cultivation. Working saturated ground can collapse pore spaces and create clods that remain troublesome after the surface dries.
For a small bed, a garden fork or broadfork can loosen deeper layers with less inversion than repeated rototilling. Insert the tool, lift or rock the soil gently, and move across the bed without turning every layer upside down. The goal is to reopen pore space, not to create a uniformly fluffy texture.
Permanent paths help prevent the same problem from returning. Keep routine foot traffic out of growing zones, especially after rain. Raised beds can make that separation obvious, but in-ground beds can use stepping stones or defined paths just as effectively.
Keep the Surface Covered Between Crops
Mulch moderates moisture, reduces splash, suppresses many weeds, and protects the soil surface. Choose a material suited to the crop and climate. Shredded leaves, clean straw, or other locally appropriate organic materials can work well, but avoid material contaminated with persistent herbicides, weed seed, or disease.
Cover crops are another option when there is enough time for establishment. Depending on species and region, they can protect soil, add biomass, capture residual nutrients, or contribute nitrogen when legumes are part of the mix. Species choice and termination timing matter, so use local extension recommendations rather than a generic national planting date.
Do not let a cover crop become a new weed problem. Know how it will be terminated before sowing it, and allow enough time between termination and planting for your next crop when local guidance recommends it.
Correct pH and Nutrients Only From Evidence
Lime, sulfur, nitrogen, phosphorus, potassium, and micronutrient products all solve different problems. Adding them without a test can waste money or make soil chemistry harder to manage. In particular, garden soils that receive compost or manure for years can accumulate nutrients even while plants still look stressed for unrelated reasons.
Use the soil-test recommendation, crop needs, and local regulations as your guide. If a lab result seems surprising, contact the lab or extension office before trying to “balance” the soil with several products at once.
Watering is part of soil health too. Saturated soil can limit oxygen, while repeated shallow watering can keep roots near the surface. The comparison of sprinkler versus hand watering can help match application method to beds, containers, and larger planting areas.
Use Crop Rotation as a Practical Reset Tool
Rotation is not a magic shield against every pest or disease, especially in a small home garden, but it can reduce repeated pressure from problems tied closely to one plant family. Avoid putting the same crop family in the same spot every season when space allows, particularly if a soilborne disease or recurring pest has been identified.
Rotation can also help spread nutrient demand. Heavy feeders, legumes, root crops, and leafy crops use the bed differently. Rather than following a rigid universal sequence, use your planting goals, known pest history, and local recommendations to create a workable rotation.
Skip Common Soil-Recovery Mistakes
Avoid adding fertilizer simply because plants underperformed. Shade, drought, waterlogging, root disease, planting depth, and temperature can all cause weak growth. Do not mix large amounts of sand into clay soil without professional or extension guidance; poor proportions can create a denser material instead of improving drainage.
Do not use fresh manure around crops unless you understand food-safety intervals and local recommendations. Do not till repeatedly just to make the bed look clean. And do not chase a perfect pH number without considering what you plan to grow.
Reset the Soil for the Next Crop
A useful between-season routine is simple: remove problem plant material, test when needed, loosen compaction only under workable conditions, add appropriate organic matter, protect the surface, and plan the next crop with rotation in mind. That approach treats soil as a living growing medium rather than a container to be refilled with fertilizer after every harvest.
Choose one bed to assess this week. Record what grew there, how water moved through it, whether the surface compacted, and what the soil test says before deciding what to add.
This gardening information is educational and general. Soil chemistry, amendment recommendations, compost quality, fertilizer rules, and crop practices vary by region and site; use local laboratory and Cooperative Extension guidance for specific recommendations.[/